Setup beautiful Terminal for Windows 10 with WSL 2
Microsoft has officially released WSL 2 recently and as an Insider user, i have been in love with WSL 2 as it provides the convenience of programming in Linux environment without dual booting while still being able to enjoy gaming on Windows. And with the availability of Terminal in our hand, of course, any programmer would love to see their Terminal beautiful, but the settings in WSL 2 is a little bit different from the native OS. Therefore, I would like to show you on how I setup my Terminal beautifully.
First and foremost, of course you will need to enable WSL 2. I would not show you how to as Microsoft already have such detailed document that you can follow here: https://docs.microsoft.com/en-us/windows/wsl/wsl2-install
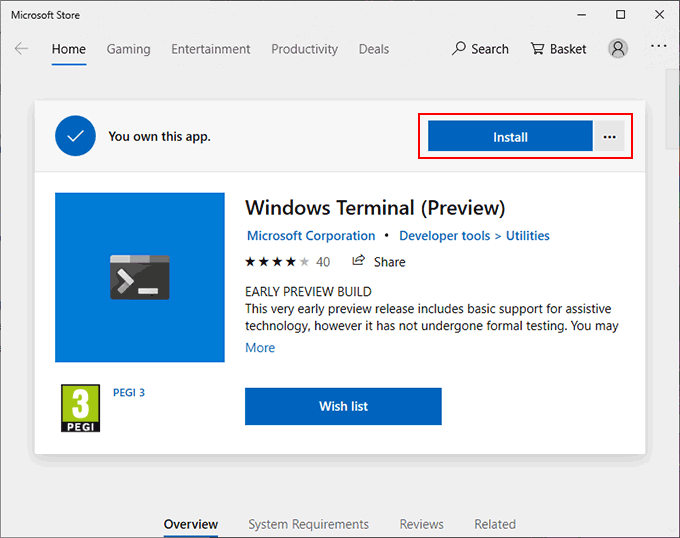
After having WSL 2 and the preferred OS installed, personally, I use Ubuntu 18.04. Now, we will install Windows Terminal through the Microsoft Store.

Now, open Windows Terminal by pressing Windows icon on your keyboard and type Terminal. As you first open, it will show you a tab of Powershell, take a look at the tab list, you will see a down arrow, click on that and choose Settings. If you already install Visual Studio Code, which you should, a JSON file will be opened (profiles.json), if you are familiar with JSON then good, if not, then I will try my best to explain the options here.
Take a look at the list area, inside the “[]” (square bracker) there will be multiple “{}” (angel bracker )

Leave a comment